Access to Pelican Ørestad
1. How to get in
Once the move-in date on your room has started, you have access to the center from 05:30 - 22:00 every day - 365 days a year.
To access your storage unit for the first time, download the Pelican Smart Access app on your mobile phone. It's important that you have mobile data enabled, as it requires internet to use the app and gain access.
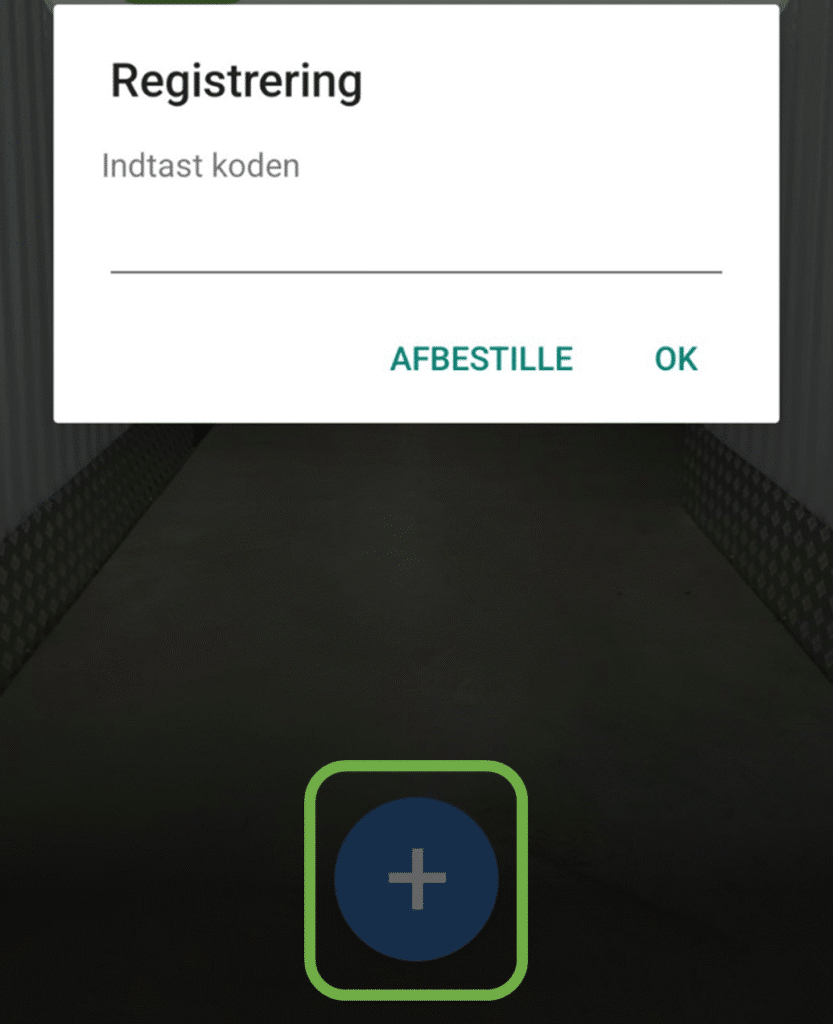
Open Pelican Smart Access and press the + sign at the bottom.
Enter the code you received by SMS when booking your room.
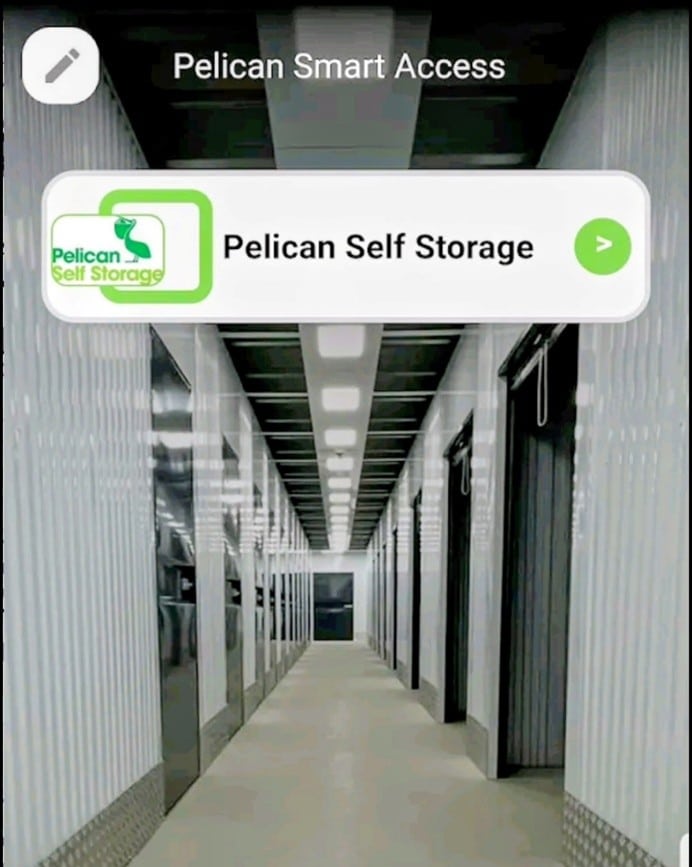
You will now see Pelican Ørestad in the app, which you need to click on.
In here you now have an overview of all the access points you have access to, as well as other relevant information about your storage unit.
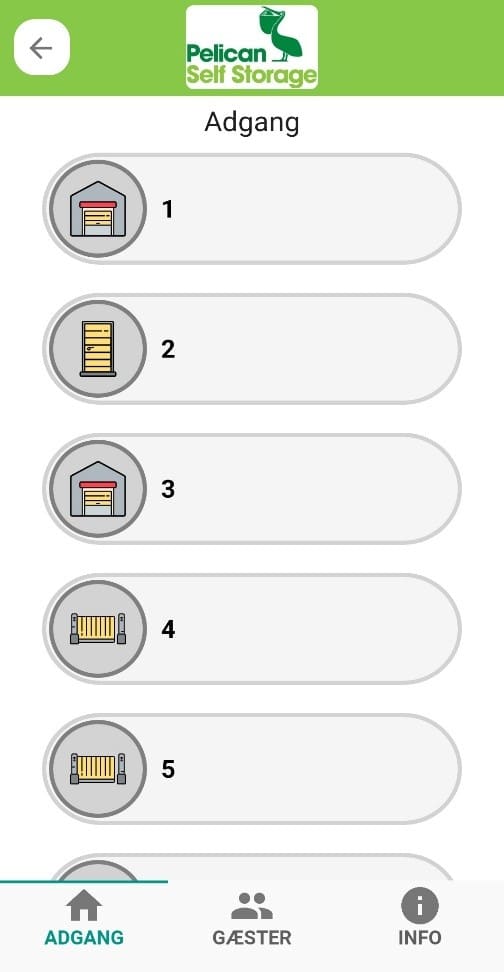
To open access, find the number next to the gate/door you are standing at. Find the number in the app and swipe right. The access will now open and will close again automatically.
2. Unloading/loading area
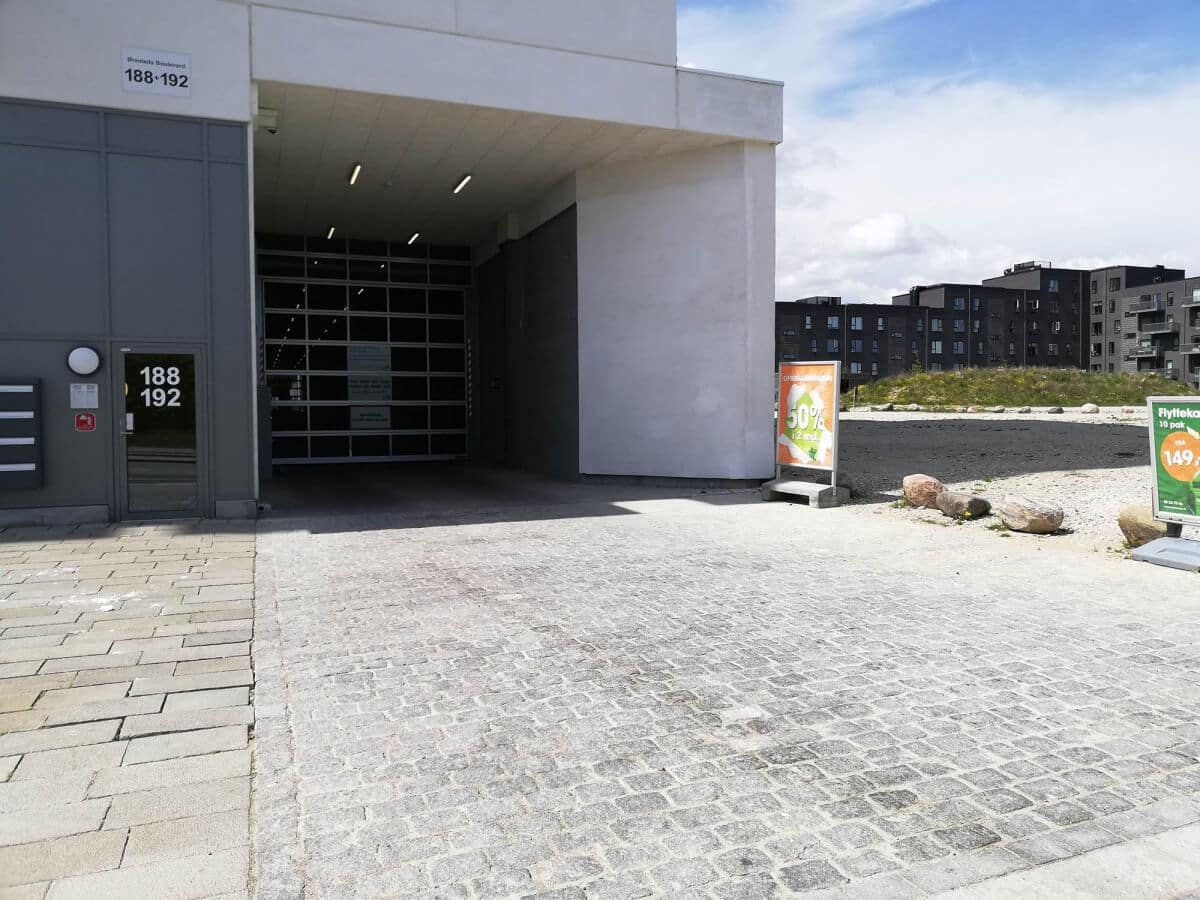
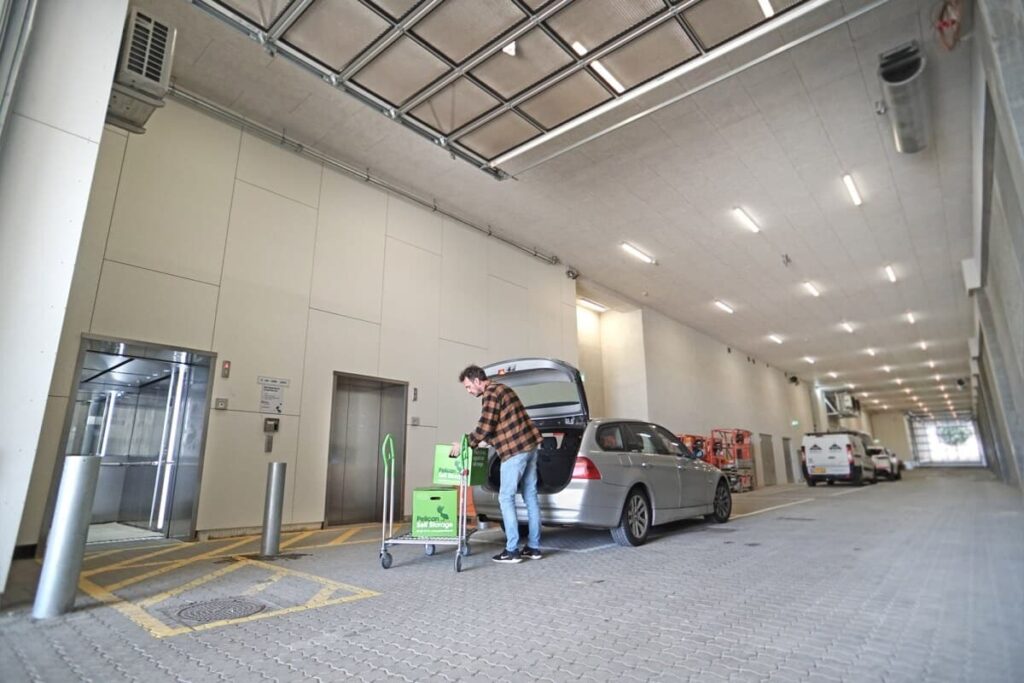
Here you can easily drive your car, trailer or moving van under our loading and unloading area on the left-hand side. You'll be closer to the entrance and can unload in dry weather.
You are allowed to park for a maximum of 1 hour in the regular parking lots on our premises.
The tunnel is one-way, so all parking must be on the left side. The exit is located at the end - here the entry procedure is the same to get out.
3. Floors and elevator access
All storage units are located on the 2nd and 3rd floor.
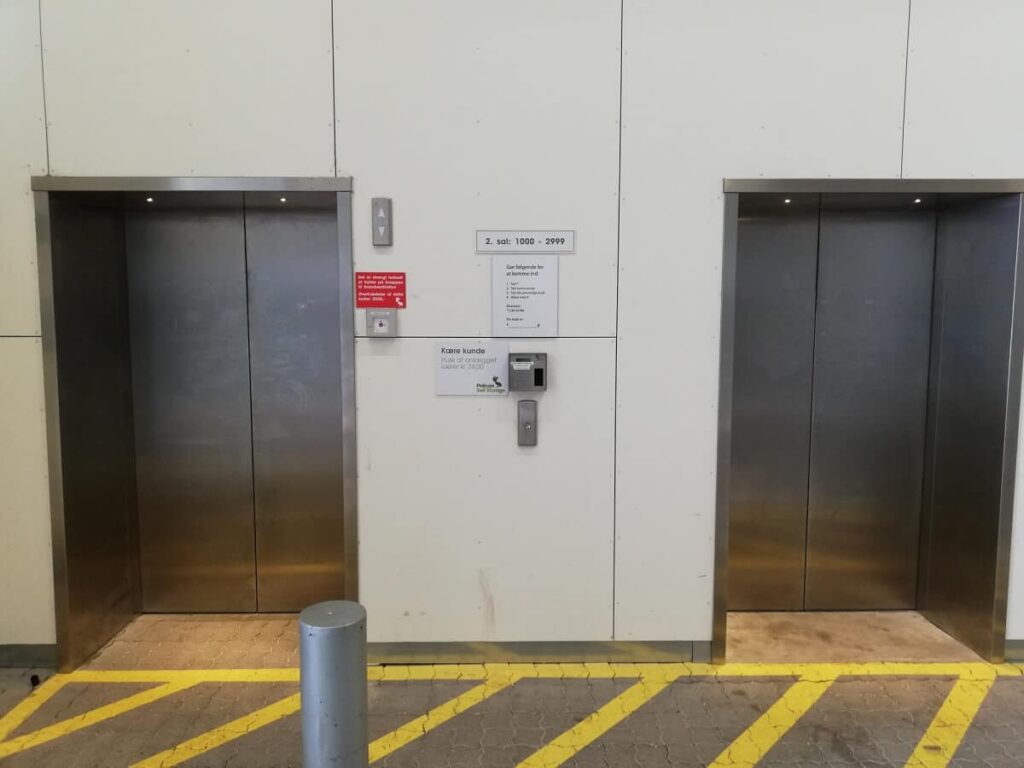
To open the elevator, open the app and find the number 2. Swipe right and then press the round button between the elevators so that it lights up red.
Then the first available elevator will open and you can enter the elevator and press the floor your room is on.
4. Customer trolleys
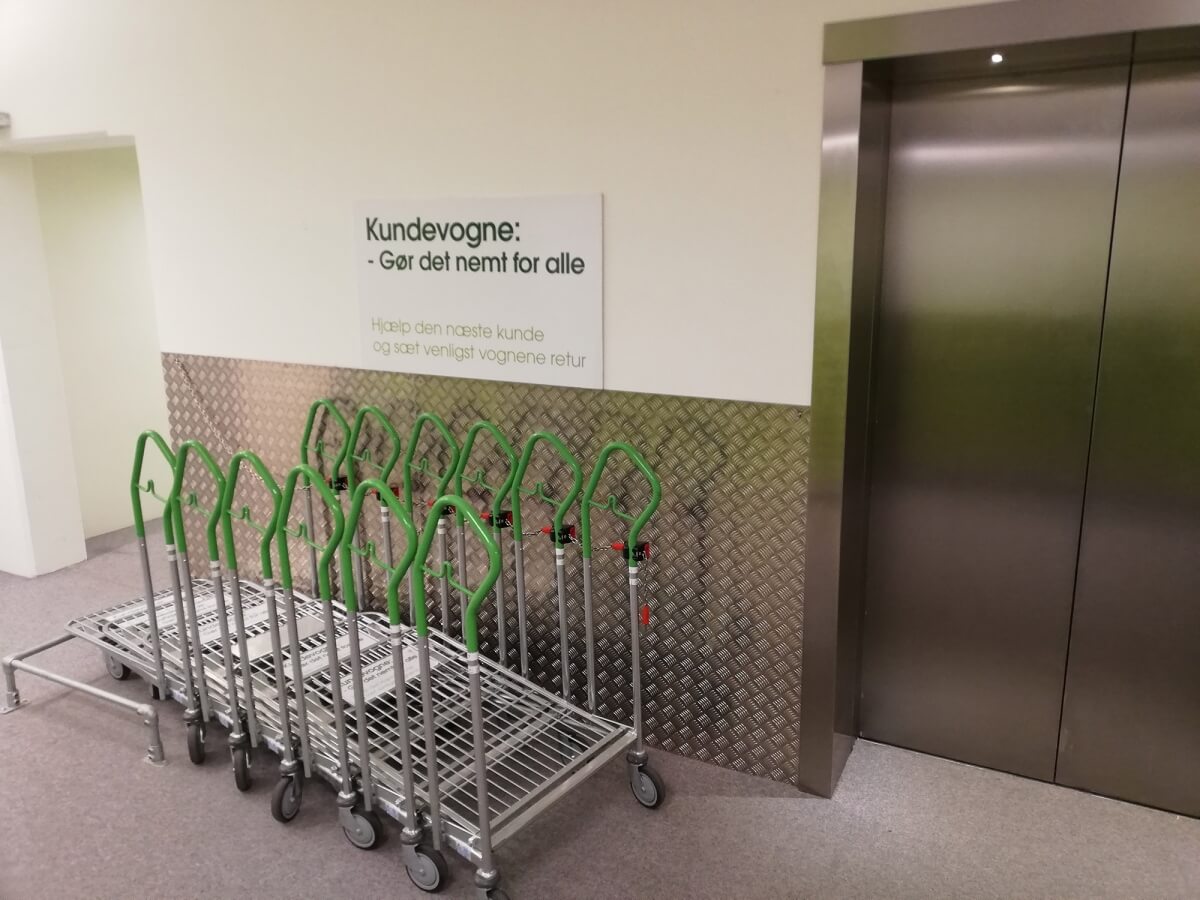
Customer carts are located on the 2nd and 3rd floor, these are free to use.
There is a limited number of carts, so use a maximum of 2 per customer, so there are carts for everyone.
Help the next customer and please put the carts back when you're done.
5. Floor overview - find your room
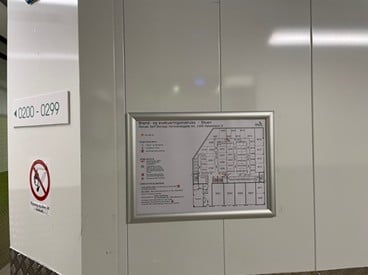
When you reach the floor where your room is, you'll find an overview of the entire floor on the wall opposite the 2 elevators.
The red dot marks where you are standing and on the overview you need to find your room number and then find your way to it.
6. Floor overview - find your room
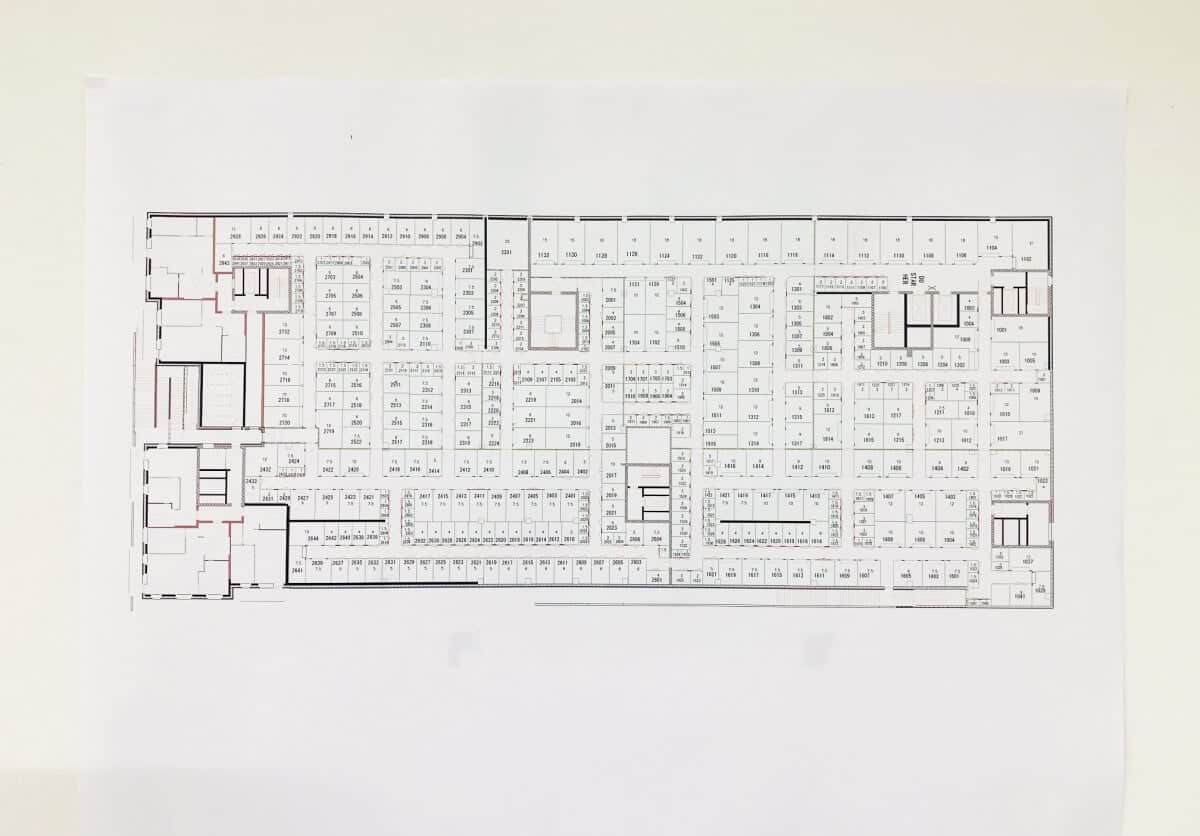
When you reach the floor where your room is, you'll find an overview of the entire floor on the wall opposite the 2 elevators.
The red dot marks where you are standing and on the overview you need to find your room number and then find your way to it.
7. Put your space to use
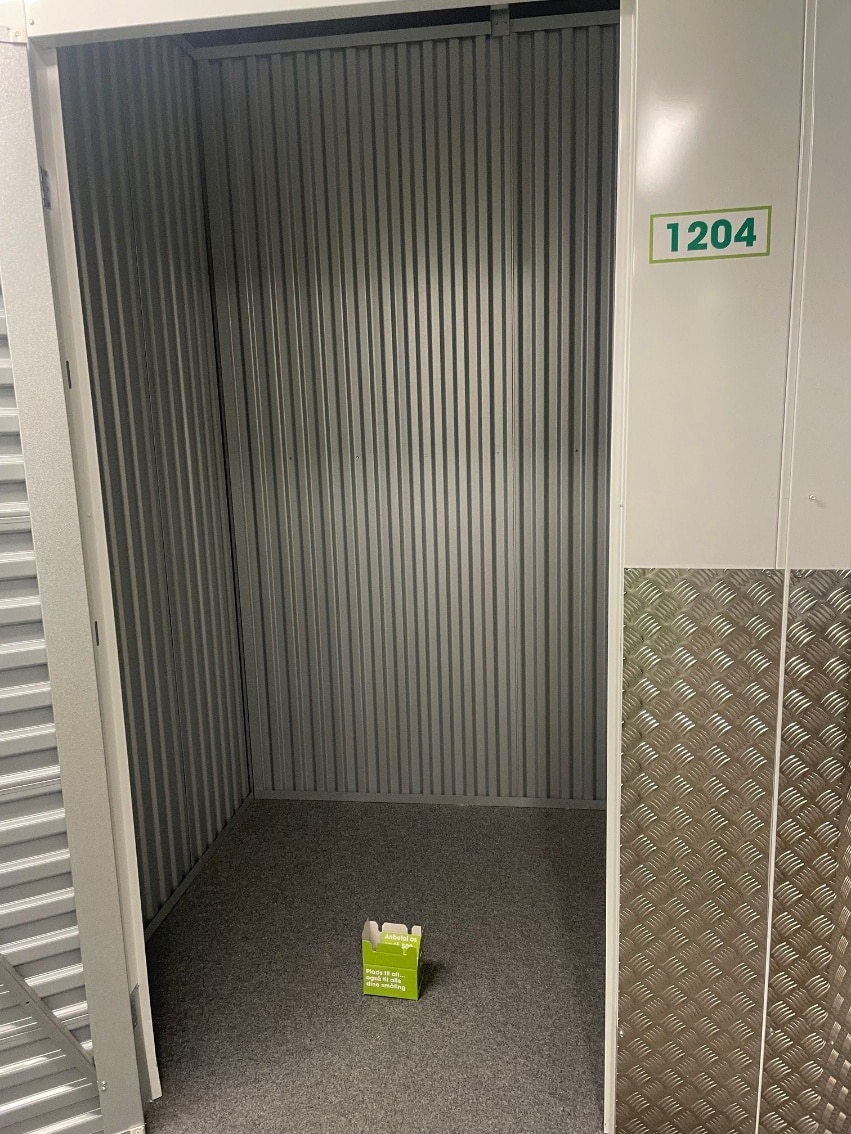
Once you have found your room, it is very important that you double check that you are standing by the correct room number. To find your room, make sure you take the room closest to the room number (sticker) you have been given.
Open the room by pushing the metal rail on the door to the right and the door will open. Inside the room, a welcome box is ready for you, in which you will find a new security-approved cylinder lock with matching keys. There is also an information letter that you are welcome to read through and save.
You can now put the room to use 😊
8. How to lock and open the room
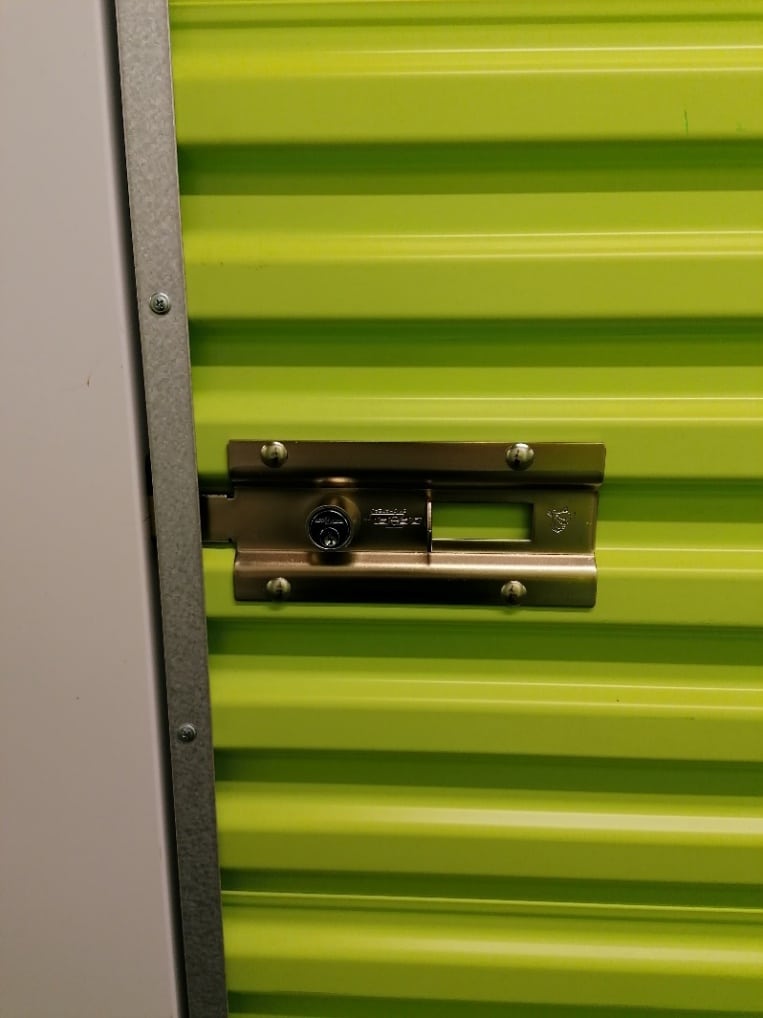
To lock the room, close the door and push the metal rail to the left as far as you can to keep the door closed. Then insert the cylinder lock into the lock hole on the door and turn the key to the left and remove the key - the room is locked.
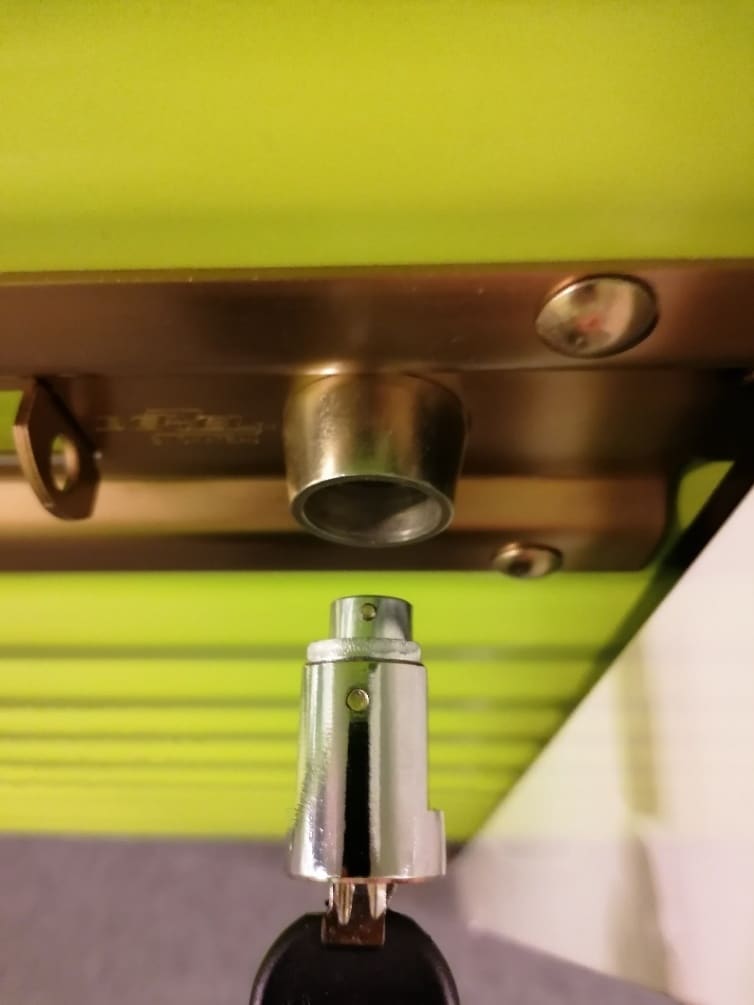
If you have trouble inserting the cylinder lock into the door
There are 2 small dots on the cylinder lock. If you hold the cylinder lock so that the two dots are at the top and right next to each other, you can easily insert the lock into the hole (see picture).
See also the video "How to lock the room".
To open the room again
Insert one of the 3 keys into the cylinder lock and turn the key to the right, then pull the cylinder out of the door. Push the metal rail all the way to the right and the door can now be opened.
See also the video "How to open the room".
If you experience problems with your access or the app, please contact the store or call +45 39 75 50 11.
Store opening hours are Mon - Fri: 10.00 - 17.00 Sat: 10.00 - 14.00
- Check that mobile data is turned on and that you are standing close to where you want to open
- Allow location sharing for the app in your phone settings
For emergencies outside store opening hours, please call our call center on tel. +45 33 98 60 06.